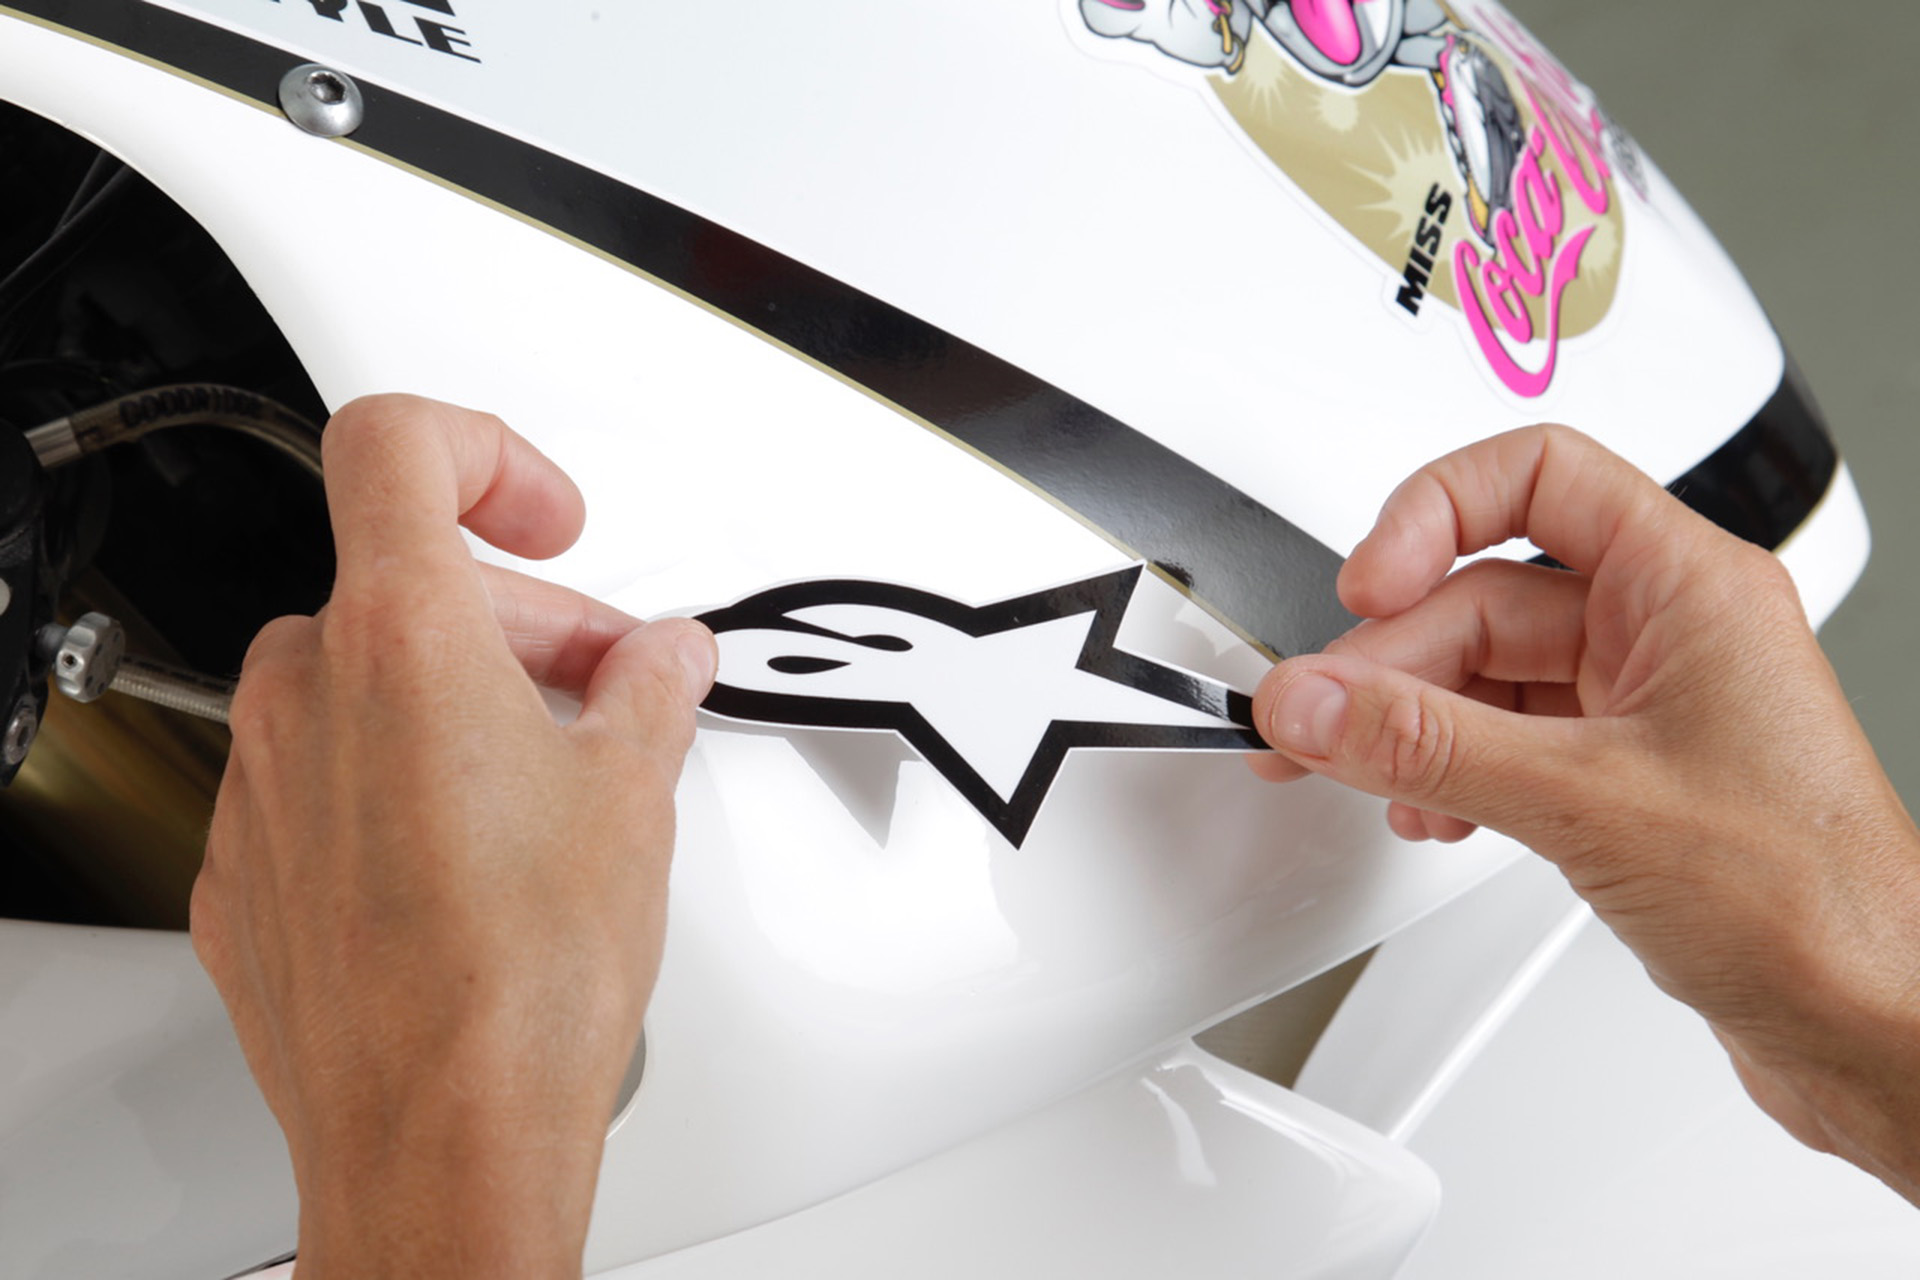
In order to obtain a perfect result, we advise you to work in a room temperature between 20°C and 25°C and to protect from dust.

  1. Install your fairing on your motorcycle.
  2. Clean your fairing well to remove all stains, grease and dust particles (repeat this action on each area that is about to receive a sticker). 
  3. Please refer to the installation instructions you received with your graphics kit.
  4. Peel off sticker 1 (1A for the throttle side and 1B for the clutch side) from the board and refer to the numbered diagram to find its location.
  5. Spray window cleaner on the back of the sticker (glue side).
  6. Position the sticker on the fairing (the window cleaner allows you to move the sticker on the fairing to find its perfect location).
  7. Remove the drops/bubbles (towards the outside) using a small scraper (installation accessories available on our website).
  8. Do not insist on the still wet areas that do not stick (move on to the next piece while the glass cleaner evaporates).
  9. Once all the elements have been installed in chronological order, return to the first applied sticker for the finishing touches.


Discover the High SideTutorial directed by Bader Benlekehal and Franck Nourry with ASD:

With the right tools, the right method and patience, the installation of an ASD Racing graphics kit is not complicated. These tips will help you even more:

  • The use of a hair dryer will allow you to soften the sticker in order to deform it and make it fit the curves of your fairing. Do not hesitate to make a small cut with a blade if necessary.
  • Use a blade to cut out the holes for the screws, any excess and air bubbles.
  • Finalize the installation by heating with a hair dryer the whole kit in order to make the adhesive penetrate and to ensure a better lifespan to your ASD Racing graphics kit.

Before you begin installation, make sure you have these tools on hand:

  • 1 spray bottle of window cleaner
  • 1 clean lint-free cloth (microfiber or paper towel)
  • 1 scalpel or cutter
  • 1 pair of scissors
  • 1 application spatula
  • 1 hair dryer

If you are not equipped, we recommend the purchase of our installation setconsisting of two spatulas and a scalpel with spare blade.